Yamaha r6 jet kit – Unleash the true potential of your Yamaha R6 with a jet kit, a performance-enhancing modification that optimizes engine performance and transforms your riding experience. Dive into the world of jet kits, discover their benefits, and learn how to install and maintain them for maximum impact.
Prepare to witness a significant boost in power and torque, improved fuel efficiency, and reduced emissions as we delve into the world of Yamaha R6 jet kits. Get ready to elevate your riding game to new heights.
Introduction to Yamaha R6 Jet Kit
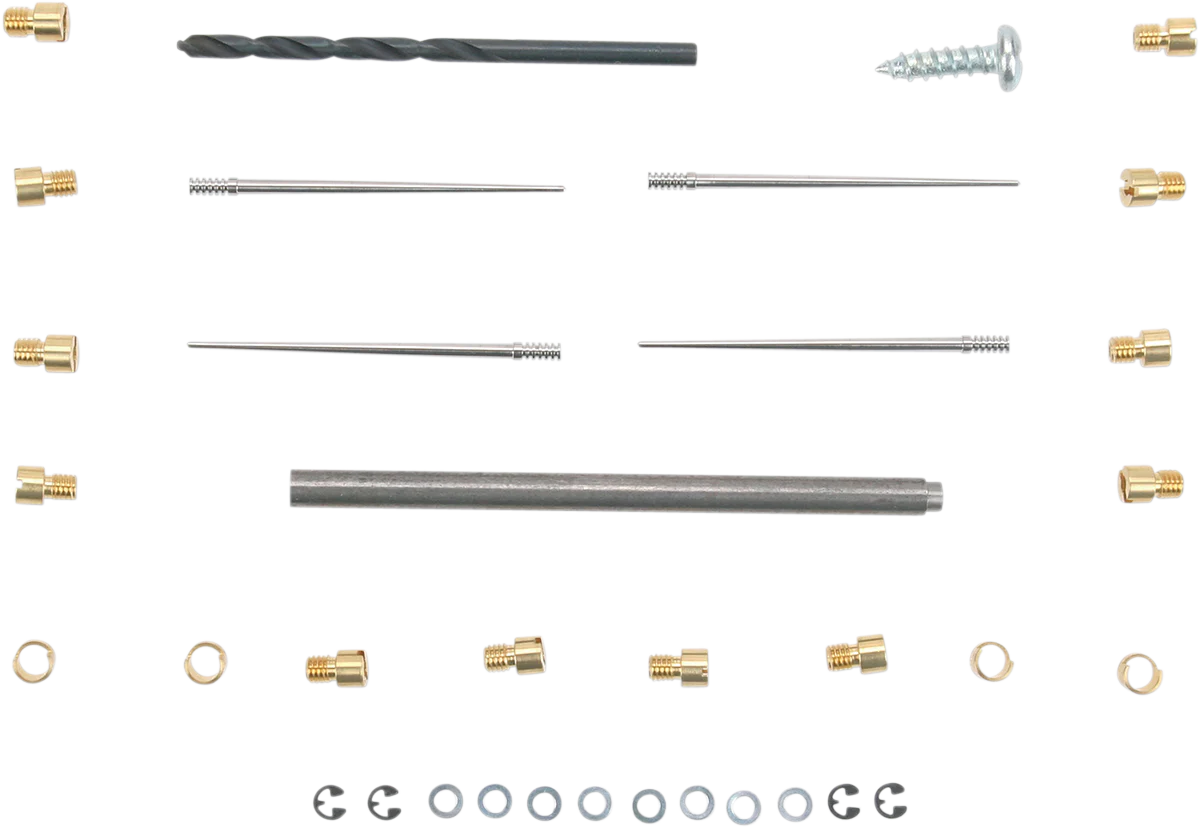
A jet kit is a collection of parts that modifies the fuel delivery system of a motorcycle engine. It is designed to improve the performance of the engine by optimizing the air-fuel mixture. In the case of the Yamaha R6, a jet kit typically includes new jets, needles, and springs for the carburetors.
These components work together to alter the amount of fuel that is delivered to the engine at different throttle positions and engine speeds.
The specific modifications made by a jet kit to the Yamaha R6 engine depend on the specific kit and the desired performance goals. However, some common modifications include:
- Increasing the size of the main jets to allow more fuel to be delivered at high throttle openings.
- Replacing the stock needles with aftermarket needles that have a different taper, which changes the rate at which fuel is delivered as the throttle is opened.
- Installing stiffer springs in the carburetor slides to prevent them from opening too quickly and delivering too much fuel at low throttle openings.
Benefits of Installing a Yamaha R6 Jet Kit
Upgrading your Yamaha R6 with a jet kit can provide significant performance enhancements and improve the overall riding experience. Here’s an overview of the benefits you can expect:
Increased Power and Torque
- Improves air-fuel mixture for optimal combustion, resulting in a noticeable boost in horsepower and torque.
- Allows the engine to breathe more efficiently, maximizing its potential and delivering a more responsive and exhilarating ride.
Enhanced Fuel Efficiency and Emissions
A well-tuned jet kit can also positively impact fuel consumption and emissions:
- Optimizes fuel delivery, reducing waste and improving fuel efficiency, especially at higher RPMs.
- Reduces unburned fuel and harmful emissions, contributing to a cleaner and more environmentally friendly ride.
Types of Yamaha R6 Jet Kits
Yamaha R6 jet kits come in various types, each with unique design and material characteristics. Understanding these variations helps in selecting the most suitable kit for specific performance requirements.
Jet kits can be categorized based on their design and materials:
Based on Design
- Stage 1 Jet Kits:Designed for mild performance enhancements, primarily focusing on improving throttle response and eliminating hesitation at low RPMs.
- Stage 2 Jet Kits:Intended for more aggressive performance gains, typically including larger jets and needles to accommodate increased airflow and fuel delivery.
- Stage 3 Jet Kits:Designed for highly modified engines with significant performance upgrades, featuring larger jets, needles, and other components to handle substantial airflow and fuel demands.
Based on Materials
- Brass Jet Kits:Traditional and widely used, offering good durability and ease of adjustment.
- Stainless Steel Jet Kits:More expensive but highly resistant to corrosion and wear, providing longer lifespan and consistent performance.
- Titanium Jet Kits:Premium option, featuring lightweight and high-strength properties, resulting in improved throttle response and fuel efficiency.
Popular Brands and Models
Some popular brands and models of Yamaha R6 jet kits include:
- Dynojet Stage 1, Stage 2, and Stage 3 Jet Kits
- Power Commander V Jet Kits
- Yoshimura Jet Kits
- K&N Jet Kits
Installation and Tuning of a Yamaha R6 Jet Kit
Installing and tuning a Yamaha R6 jet kit involves modifying the carburetor to optimize fuel delivery and improve performance. This guide provides a step-by-step process for installing and tuning the jet kit to enhance the R6’s power and responsiveness.
Steps Involved in Installing a Jet Kit, Yamaha r6 jet kit
- Remove the carburetor from the motorcycle.
- Disassemble the carburetor and remove the stock jets.
- Install the new jets provided in the jet kit according to the manufacturer’s instructions.
- Reassemble the carburetor and reinstall it on the motorcycle.
Tuning the Carburetor
After installing the jet kit, it is essential to tune the carburetor to optimize performance. This involves adjusting the air-fuel mixture by modifying the pilot screw, needle jet, and main jet.
Yamaha R6 Jet Kits can enhance your motorcycle’s performance, but if you need professional assistance with installation or maintenance, consider visiting a Yamaha R6 dealership near you. Use this link: yamaha r6 dealership near me to find a reputable dealership in your area.
Once you’ve addressed any mechanical concerns, you can continue optimizing your Yamaha R6 Jet Kit for maximum riding pleasure.
Start by adjusting the pilot screw to achieve a smooth idle. Then, adjust the needle jet to optimize throttle response. Finally, fine-tune the main jet to ensure proper fuel delivery at high RPMs.
Maintenance and Troubleshooting for Yamaha R6 Jet Kits

Regular maintenance is essential for ensuring optimal performance and longevity of a Yamaha R6 jet kit. Proper maintenance includes regular cleaning, inspection, and adjustment.
Cleaning
Cleaning the jet kit regularly is crucial to prevent clogging and ensure smooth operation. Use a carburetor cleaner and compressed air to thoroughly clean all components, including the jets, needles, and float bowl. Pay particular attention to the small orifices in the jets, as they can easily become clogged with debris.
Inspection
Periodically inspect the jet kit for any signs of wear or damage. Check for cracks, corrosion, or deformation in any of the components. Replace any damaged parts promptly to avoid potential problems.
Adjustment
Over time, the jet kit may require adjustment to maintain optimal performance. This can be done by adjusting the needle position, changing the jet sizes, or modifying the float level. Refer to the jet kit manufacturer’s instructions for specific adjustment procedures.
Installing a Yamaha R6 jet kit can significantly improve your bike’s performance, but before you start wrenching, check out Yamaha R6 cycle trader for a wide selection of used R6s. Once you’ve got your bike, installing a jet kit is a straightforward process that can be completed in a few hours.
With a little time and effort, you’ll be able to enjoy the increased power and responsiveness of your Yamaha R6.
Troubleshooting
If you encounter any issues with your Yamaha R6 jet kit, follow these troubleshooting tips:
-
-*Engine running rich
If you’re planning to upgrade your Yamaha R6 with a jet kit, it’s crucial to consider the bike’s dimensions to ensure a perfect fit. You can find detailed specifications on the yamaha r6 dimensions page, which covers length, width, height, and other important measurements.
Once you have the dimensions in hand, you can confidently select a jet kit that will optimize your R6’s performance without any fitment issues.
Check the float level, needle position, and jet sizes. Ensure that the float level is set correctly and that the needle is positioned properly. Adjust the jet sizes if necessary.
-
-*Engine running lean
Check the fuel filter, fuel lines, and carburetor for any restrictions. Ensure that the fuel supply is adequate and that the carburetor is properly adjusted.
-
-*Hesitation or bogging during acceleration
Check the accelerator pump setting and the jet sizes. Adjust the accelerator pump setting or change the jet sizes as needed.
-
-*Poor fuel economy
Check the jet sizes, float level, and air filter. Adjust the jet sizes, float level, or replace the air filter if necessary.
Comparison to Other Performance Modifications
Installing a jet kit is a cost-effective and relatively simple way to improve the performance of your Yamaha R6. While other modifications, such as exhaust systems and air filters, can also provide performance gains, they are often more expensive and complex to install.
Cost and Complexity
A jet kit typically costs between $50 and $100, while an exhaust system can cost anywhere from $300 to $1,000. Air filters are relatively inexpensive, but they require frequent cleaning and replacement. In terms of complexity, a jet kit is relatively easy to install, while an exhaust system can be more challenging, especially if you are not familiar with motorcycle mechanics.
Safety Considerations and Legal Implications
Proper installation and tuning of a Yamaha R6 jet kit are crucial for safety. Incorrect installation or tuning can lead to engine damage or even personal injury. It’s essential to follow the manufacturer’s instructions carefully and have the kit installed by a qualified mechanic if necessary.
Legal Implications
Modifying a motorcycle engine may have legal implications, depending on local regulations. In some areas, it may be illegal to modify a vehicle’s emissions system, such as by removing or altering the catalytic converter. It’s important to check local laws before making any modifications to ensure compliance.
Summary
In conclusion, a Yamaha R6 jet kit is an essential upgrade for riders seeking to enhance their motorcycle’s performance. Its ability to optimize engine functionality, improve fuel efficiency, and reduce emissions makes it a worthwhile investment. By carefully following the installation and tuning instructions, you can unlock the full potential of your R6 and enjoy a thrilling riding experience.
